
Hemming might seem like a small detail, but it can make a huge difference in how your shirts fit and feel. That's why we made this step-by-step guide about how to hem a shirt super easy to follow along, even if you're new to sewing. We'll cover everything from why hemming matters to the tools you'll need and the best methods to use. So, grab your shirt and let's get started on giving it that perfect finishing touch!
4 Popular Ways to Hem Your T-Shirts
In general, there are 3 popular methods to hem your beloved t-shirts. Each hemming method offers its own set of advantages, catering to different preferences, skill levels, and time constraints. Whether you prefer meticulous control with hand hemming, quick fixes with hemming tape, or professional results with a sewing machine, there's a hemming method that suits your needs and preferences. Let's explore how to hem a shirt now!
Method 1: Hand Hemming
Hand hemming involves sewing the hem of the shirt using hand stitches. It offers precise control over the stitching process and allows for customization of the hem.
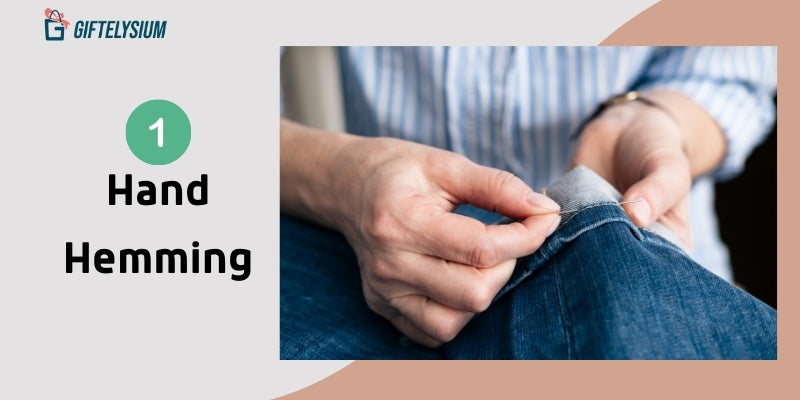
How to hem a shirt by hands
Advantages:
- Meticulous Control: Hand hemming allows the sewer to have complete control over the stitching, ensuring a customized and precise finish.
- Personalized Touch: With hand hemming, individuals can add a personal touch to their garments, as each stitch is done by hand, reflecting the sewer's unique style.
- Versatility: Hand hemming can be done anywhere, making it a convenient option for on-the-go alterations or repairs.
Method 2: Hemming with Hemming Tape
Hemming with hemming tape involves using adhesive tape specifically designed for hemming purposes to secure the hem in place.
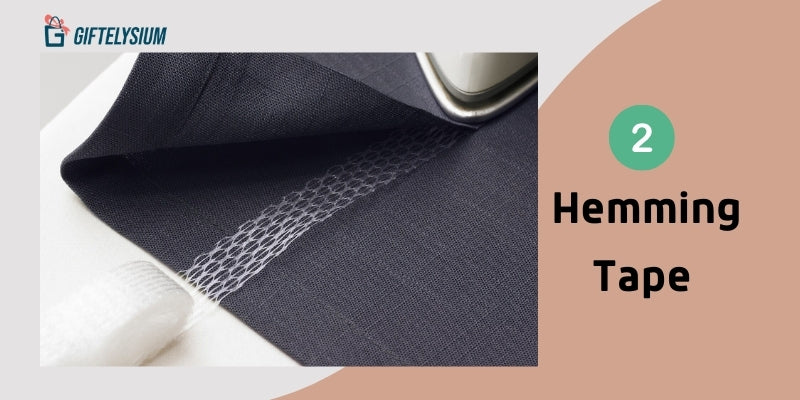
How to hem a shirt with hemming tape
Advantages:
- Quick and Convenient: Hemming tape offers a fast and hassle-free alternative to traditional sewing methods, making it perfect for quick fixes or when time is limited.
- No Sewing Required: Hemming tape eliminates the need for sewing, making it an accessible option for beginners or those without access to a sewing machine.
- Temporary Fix: Hemming tape can be used as a temporary solution for hemming garments, allowing for easy removal and reapplication if needed.
Method 3: Creating a Crop Top
Transforming a regular-length shirt into a crop top involves cutting and hemming the bottom portion of the shirt to create a shorter, more fitted garment.

How to hem a shirt into a crop top
Advantages:
- Customization: Creating a crop top allows individuals to customize the length and style of their shirt to suit their preferences and body shape.
- Trendy and Fashionable: Crop tops are a popular fashion trend, offering a stylish and contemporary look that can be dressed up or down for various occasions.
- Upcycling: Converting an existing shirt into a crop top is a form of upcycling, giving old or unused garments a new lease on life and reducing waste.
- Budget-Friendly: Making a crop top from an existing shirt can be a cost-effective way to update your wardrobe without having to purchase new clothing items.
Method 4: Hemming with a Sewing Machine
Hemming with a sewing machine involves using a sewing machine to sew the hem of the shirt, resulting in efficient and professional-grade results.
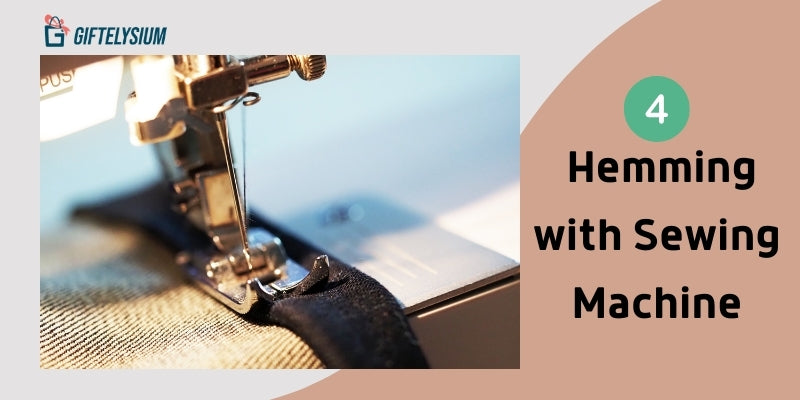
How to hem a shirt with a sewing machine
Advantages:
- Efficiency: Using a sewing machine for hemming is much faster compared to hand sewing, making it an efficient option for large-scale projects or time-sensitive alterations.
- Professional Results: Sewing machines provide consistent and precise stitches, resulting in professional-grade finishes that are durable and long-lasting.
- Versatility: Sewing machines offer a wide range of stitch options and settings, allowing for customization and versatility in hemming techniques.
How to Hem a T-Shirt: Tutorials with a Sewing Machine
Of all methods above, hemming a t-shirt with a sewing machine may be the most efficient and precise one, making it a popular choice for achieving professional-grade results. Whether you're new to sewing or looking to refine your skills, our detailed tutorials on how to hem a shirt with a sewing machine will guide you through the process, from setting up your machine to stitching the perfect hem. Let's get started on mastering this essential sewing technique!
Essential Tools and Supplies
Before diving into the step-by-step tutorials on how to hem a shirt with a sewing machine, it's essential to gather the necessary tools and supplies. Having the right equipment at hand will ensure smooth and efficient progress throughout the hemming process. Some essential tools and supplies you'll need include:
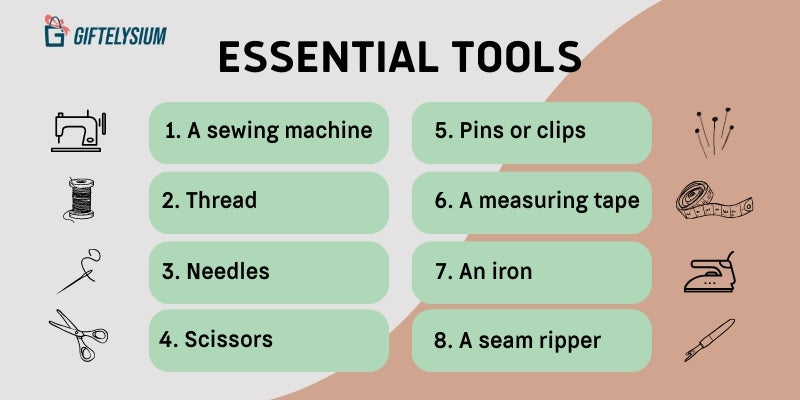
Essential tools and supplies to hem a shirt with a sewing machine
- A sewing machine (either a basic or advanced model depending on your skill level)
- Appropriate thread matching the color of your fabric
- Sewing machine needles suitable for your fabric type
- Fabric scissors for precise cutting
- Pins or clips to secure fabric layers in place
- A measuring tape for accurate measurements
- An iron for pressing seams and hems
- A seam ripper on hand for correcting any mistakes,
With these essential tools and supplies ready to go, you'll be well-equipped to tackle the hemming process confidently and achieve professional-looking results. Let's gather our supplies and get started on hemming our shirts with a sewing machine!
Step-by-step Tutorials
We will divide the guide on how to hem a shirt into 2 main parts: Preparing the shirt and Hemming with a sewing machine:
Part 1: Preparing the shirt
- Begin by taking the raw edge of the bottom of your shirt and folding it under once, creating a fold of about 1/4".
- Secure this fold with pins, ensuring it stays in place.
- Use an iron to press the fold, as this will result in a much cleaner and neater hem.
- Once pressed, remove the pins and fold the edge over again by another 1/4". This double fold ensures that the raw edge of the fabric is completely enclosed, preventing it from shedding when the shirt is washed.
- Secure this second fold with pins and run an iron over it to keep it in place.
Part 2: Hemming with a sewing machine
- Now, set up your sewing machine with thread that matches your clothing item.
- To begin stitching, start at the side seam of the shirt to keep the start and end of the seam inconspicuous.
- Sew a straight stitch approximately 1/2" from the edge of the bottom of the shirt, securing the fold in place.
- Sew backwards over this stitching to create a knot, then continue stitching forwards while keeping the stitches a little less than 1/4" from the edge of the fabric. Remember to remove pins as you sew to avoid sewing over them.
- Continue stitching all the way around the bottom of the shirt until you reach your starting point.
- To finish, stitch backwards for about 1/2" to create a final knot. Cut the threads, and your hem is complete!
4 Time-Saving Tips for Perfect Shirt Hems
To streamline the hemming process without sacrificing quality, here are some easy-to-follow and time-saving tips for achieving perfect shirt hems:
- First, consider batching your hemming tasks by working on multiple shirts at once. This way, you'll save time on machine setup and thread changes. Plus, you'll get into a rhythm, making each hem quicker than the last.
- Next, start with simpler techniques like using hemming tape or a sewing machine before trying more advanced methods like hand hemming. It's all about building your skills gradually!

How to hem a shirt like a pro in no time with 4 time-saving tips
- When measuring and marking your hemlines, opt for tools like fabric markers or chalk for accuracy and ease. Take your time to ensure your measurements are spot on – it'll save you from having to redo any work later.
- And don't forget to prewash and iron your fabric beforehand to prevent any surprises like shrinkage or wrinkles.
With these tips in your toolkit, you'll be hemming shirts like a pro in no time – and with a lot less stress!
Conclusion
In summary, we've explored various hemming methods from the easiest to the hardest one.. Each method offers unique advantages, catering to different preferences and skill levels. We encourage you to experiment with these techniques to find what works best for you. Remember to utilize the step-by-step tutorials and time-saving tips provided in this guide for successful shirt hemming. With practice and determination, you'll master how to hem a shirt and create perfectly tailored pieces in no time. Happy sewing!
Source: https://giftelysium.com/