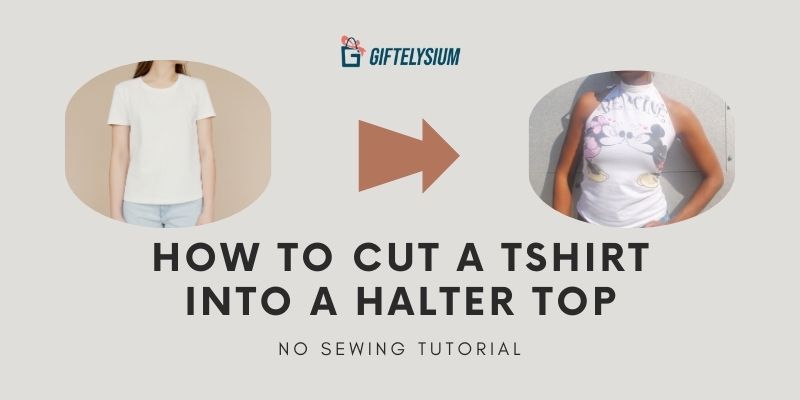
Halter tops have been a fashion favorite for their chic look and versatility, but buying them can sometimes break the bank. That's where the magic of DIY fashion comes in. With our step-by-step guide, we'll show you how to cut a tshirt into a halter top, perfect for any occasion.
And the best part? You don't need any sewing skills to pull it off! Whether you're a complete beginner or a seasoned crafter, our tutorial is designed to be super easy to follow. So grab your scissors and let's get started on this fun and accessible DIY project together!
Easy DIY Tutorial: How To Cut A Tshirt Into A Halter Top
Materials Needed
To get started on your DIY halter top project, you'll need a few key materials readily available in most households. List of materials required for the project include:
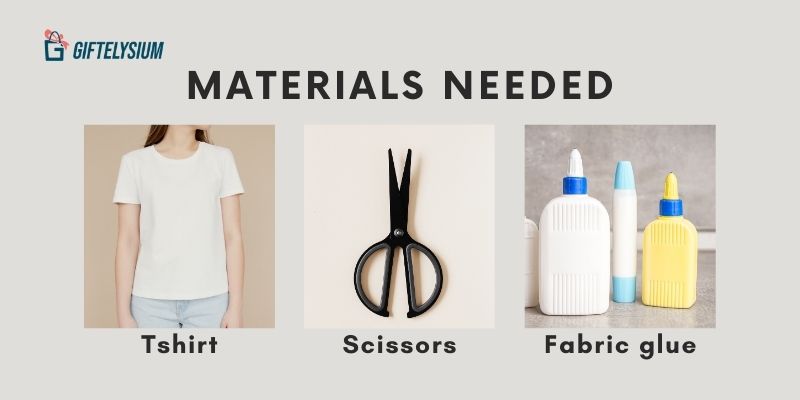
Materials Needed To Cut A Tshirt Into A Halter Top
- T-shirt (preferably an old one for upcycling)
- Scissors
- Fabric glue or adhesive tape
- Optional: embellishments like fabric paint, beads, or iron-on patches
Preparing Your T-Shirt
Before diving into how to cut a tshirt into a halter top, it's crucial to select the right t-shirt for your DIY halter top project.
- Opt for a t-shirt that's slightly oversized or loose-fitting to ensure a comfortable and flattering fit once transformed into a halter top.
- Keep in mind that stretchy or jersey knit fabrics work best for this project, as they offer flexibility and drape nicely.
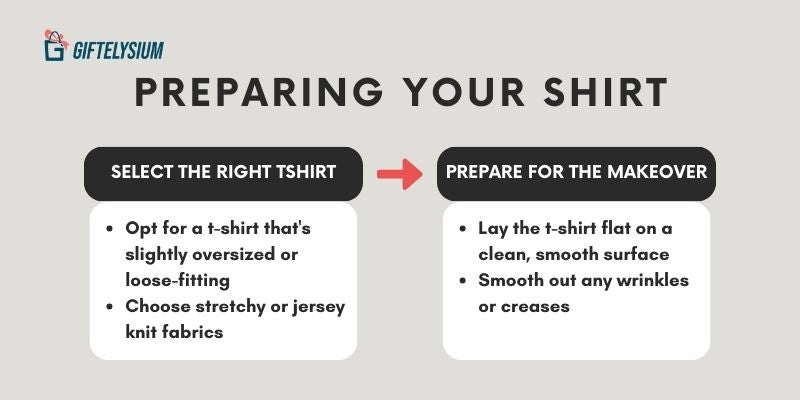
Preparing Your Tshirt Before Cutting
Once you've chosen your t-shirt, it's time to prepare it for the makeover.
- Start by laying the t-shirt flat on a clean, smooth surface, such as a table or the floor.
- Smooth out any wrinkles or creases to ensure an even cutting surface and accurate measurements.
Taking the time to prepare your t-shirt properly will help ensure that your DIY halter top turns out beautifully and fits just right. Now, let's move on to the exciting part – cutting and styling!
Cutting the T-Shirt
Now that your t-shirt is prepped and ready, GiftElysium will show you how to cut a tshirt into a halter top step by step.
Step 1: Begin by using a measuring tape and a pencil to create a straight line approximately ½ inch away from the collar. Extend this line from the collar down to the armpit, ensuring that the sleeves remain intact.
Step 2: Carefully cut off the sleeves of the shirt while being mindful not to cut the neckline. Once the sleeves are removed, flip the shirt upside down.
Step 3: With the shirt inverted, cut away the fabric around the neckline, allowing for a jagged appearance. Don't worry about precision at this stage, as we'll refine the neckline later.
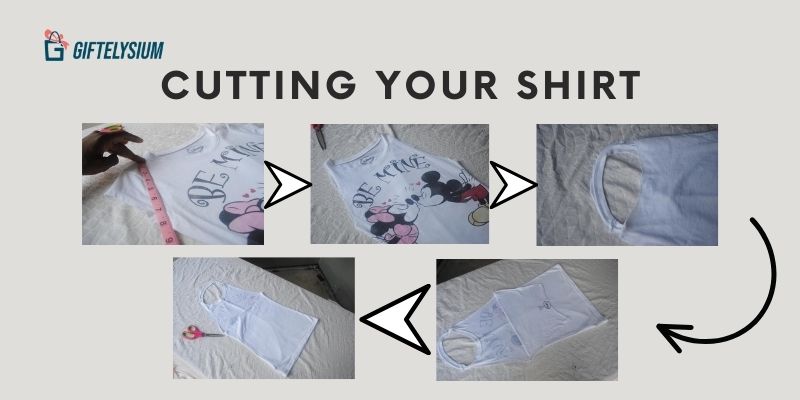
How To Cut A Tshirt Into A Halter Top in 6 Steps
Step 4: Fold back the loose fabric to expose the original stitching, creating a crease along the neckline. This crease will serve as a guide for a neater cut.
Step 5: Trim off the excess fabric above the crease, refining the neckline to your desired shape.
Step 6: Fold the t-shirt in half with the front facing outward, ensuring both sides are even. If one side is longer than the other, trim it down to achieve symmetry.
Your t-shirt should now have a clean neckline with symmetrical cuts on both the front and back. Now, let's move on to creating those halter straps!
Creating the Halter Straps
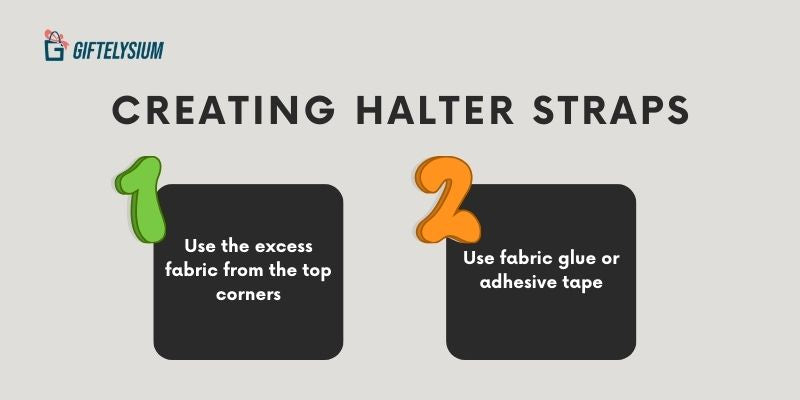
Once the neckline is trimmed and perfected, it's time to create the halter straps for your DIY halter top. There are several methods to achieve this without the need for sewing.
- One simple technique is to use the excess fabric from the top corners of the halter and tie them behind your neck, forming the straps. Ensure the knots are tight and secure for added durability.
Creating the Halter Straps For Your Top
- Alternatively, if you prefer a more streamlined look, fabric glue or adhesive tape can be utilized to secure the straps in place. Apply a small amount of fabric glue to the ends of the straps and press them firmly onto the back of the shirt, holding them in place until the glue sets. Similarly, adhesive tape can be used to attach the straps, providing a quick and temporary solution.
Whichever method you choose, make sure the straps are securely fastened to prevent any wardrobe malfunctions and ensure a comfortable fit. With the halter straps in place, your DIY halter top is ready to rock!
5 Creative Ways to Style Your DIY Halter Top
Now that you've mastered how to cut a tshirt into a halter top, it's time to explore the endless possibilities for styling this versatile garment.
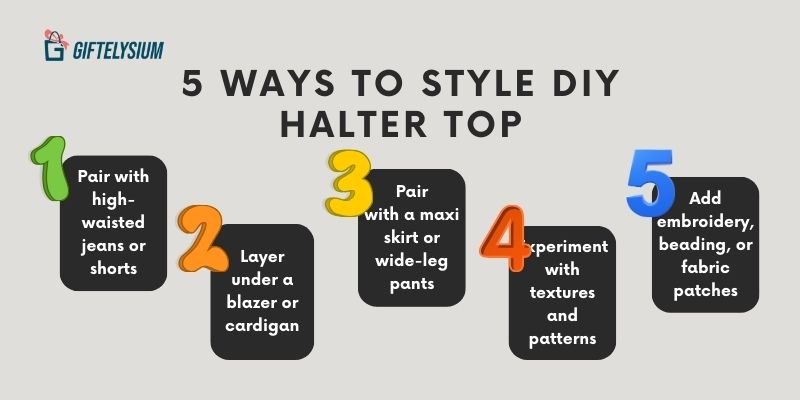
- For a retro-inspired look that's perfect for casual outings or weekend brunches: Pair it with high-waisted jeans or shorts.
- For a more polished ensemble, layer your halter top under a blazer or lightweight cardigan, adding sophistication to your outfit while still maintaining a touch of edge.
- Alternatively, embrace the bohemian vibe by pairing your halter top with a flowy maxi skirt or wide-leg pants, accessorizing with layered necklaces and statement earrings for a laid-back yet chic ensemble.
5 Creative Ways to Style DIY Halter Tops
- Don't be afraid to experiment with different textures and patterns to add visual interest to your outfit, whether it's pairing your halter top with a denim jacket for a cool and casual vibe or mixing and matching bold prints for a playful and eclectic look.
- Finally, make your halter top truly your own by adding personal touches such as embroidery, beading, or fabric patches to reflect your unique sense of style.
Whether you prefer a minimalist aesthetic or love to embrace bold and eclectic trends, there are countless ways to style your DIY halter top and make it a standout piece in your wardrobe.
Conclusion
Creating your own no-sew halter top is not only a fun and rewarding DIY project but also surprisingly simple and accessible, even for beginners. With just a few basic materials and easy-to-follow instructions on how to cut a tshirt into a halter top, you can transform an old t-shirt into a stylish and trendy garment that's uniquely your own.
Now, it's your turn to unleash your creativity and give it a try! And don't forget to share your results with us – we'd love to see how you've personalized your DIY halter top and made it uniquely yours. Happy crafting!