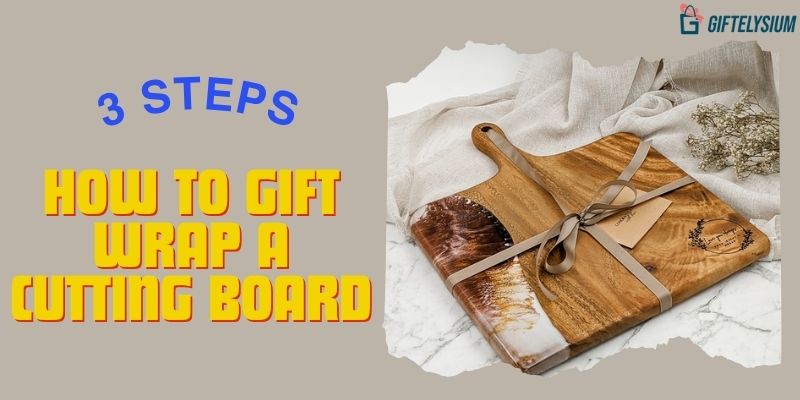
How to gift wrap a cutting board is a skill that can elevate a practical present into a beautifully packaged delight. Gift giving is an art, and the way a present is wrapped can add a personal touch and enhance the recipient's experience. By following three easy steps, you can master the art of wrapping a cutting board, creating an impressive package that is sure to wow the lucky recipient.
Why should we learn how to gift wrap a cutting board?
About the art of gift wrapping
Nowadays, the art of gift wrapping is often overlooked, but it can truly elevate a present and make it feel extra special. A beautifully wrapped gift shows thoughtfulness and care, signaling to the recipient that time and effort went into preparing their gift. When done well, the wrapping itself can build anticipation and make the unveiling a delightful experience.
The meaning of knowing how to gift wrap a cutting board
While cutting boards are undoubtedly practical kitchen tools, learning how to gift wrap them beautifully can imbue these ordinary items with something extra special. Mastering this skill allows you to transform a humble cutting board into a thoughtfully-presented, professionally-packaged present. It demonstrates your creativity, eye for detail, and willingness to go the extra mile in preparing a memorable gift.
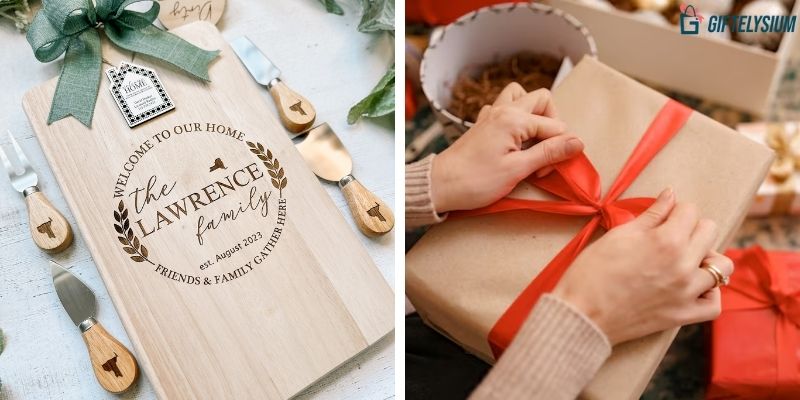
Why should we learn how to gift wrap a cutting board?
Guidelines: How to Gift Wrap A Cutting Board
Wrapping a cutting board may seem like a simple task, but doing it properly requires some technique. These guidelines will walk you through the steps to gift wrap a cutting board with precision and flair.
Step 1: Gather Necessary Materials
Cutting board
The cutting board is the first and most important material needed. When selecting a cutting board to gift wrap, consider its size, shape, and surface texture. Larger boards will require more wrapping paper, while oddly-shaped or round boards may need special wrapping techniques. The board's surface should also be smooth and clean before wrapping to ensure a neat, professional look.
Wrapping paper or kraft paper
Once you have your cutting board selected, you'll need wrapping paper or kraft paper to encase it. Wrapping paper comes in a wide variety of colors, patterns, and designs to fit any occasion or recipient's taste. From vibrant prints to more subdued solids, the right wrapping paper allows you to coordinate with a theme or add a festive flair. Kraft paper offers a rustic, earthy alternative with its textured, brown paper look.
Scissors
The next material you'll need is a pair of scissors. Having a good, sharp pair of scissors is crucial for precisely cutting the wrapping paper or kraft paper to the right size for your cutting board. Look for scissors that feel comfortable in your hand and allow you to make clean, straight cuts through the paper.
Optional decorative elements
To add an extra special touch, consider incorporating some decorative accents. Fresh herb sprigs like rosemary or lavender tucked under the ribbon lend a lovely natural element. Or attach a fresh flower bloom to coordinate with your wrapping paper pattern. Personalized gift tags or handwritten cards also allow you to customize the present with the recipient's name and a warm message.
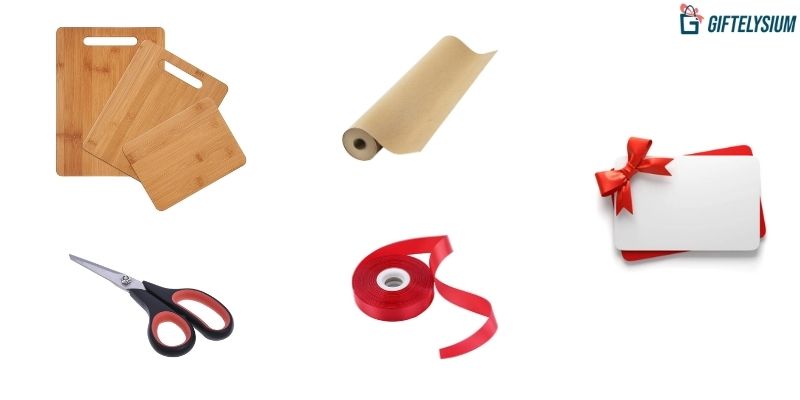
Necessary Materials to Gift Wrap A Cutting Board
Step 2: Wrap with Precision
Measuring and cutting wrapping paper for rectangular cutting boards and round or odd-shaped cutting boards require slightly different approaches due to their varying shapes. Let's delve into each method:
Rectangular Cutting Boards:
- Measure the length and width of the cutting board.
- Add extra inches to each side for overhang.
- Mark and cut the wrapping paper according to the measurements.
- Place the board in the center, fold and secure the paper around it.
Round or Odd-Shaped Cutting Boards:
- Trace the shape of the board onto paper, adding extra space.
- Cut along the traced outline, including the added space.
- Center the board, fold, and secure the paper around it.
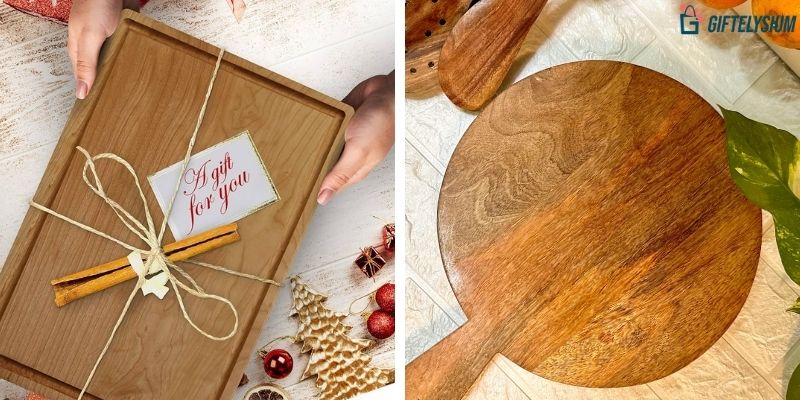
How to gift wrap a cutting board with precision
Step 3: Add the Finishing Touches
Decorative ribbon or twine
Adding the finishing touches with decorative ribbon or twine can significantly enhance the presentation of your cutting board gift. When selecting the perfect ribbon or twine, consider the occasion and the recipient's taste. Opt for colors, textures, and patterns that complement the wrapping paper and evoke the desired aesthetic.
Incorporating natural elements
Incorporate natural elements like fresh or dried flowers, pinecones, or pressed leaves into your gift wrapping. Choose ribbons made from natural fibers and consider wooden accents for a rustic touch. Use eco-friendly options like reusable gift bags or handmade paper embedded with seeds. These simple additions add charm and sustainability to your gifts, celebrating the beauty of nature while making a memorable presentation.
Gift tags or cards
Moreover, gift tags or cards are essential for adding a personal touch to gifts. Choose styles that match the occasion and personalize them with heartfelt messages. Add decorative elements like ribbons or stickers to enhance their appearance. Coordinate with the gift wrap for a cohesive look, and ensure they're securely attached. Consider DIY options for a unique touch. These simple additions make your gifts more memorable and special for the recipients.
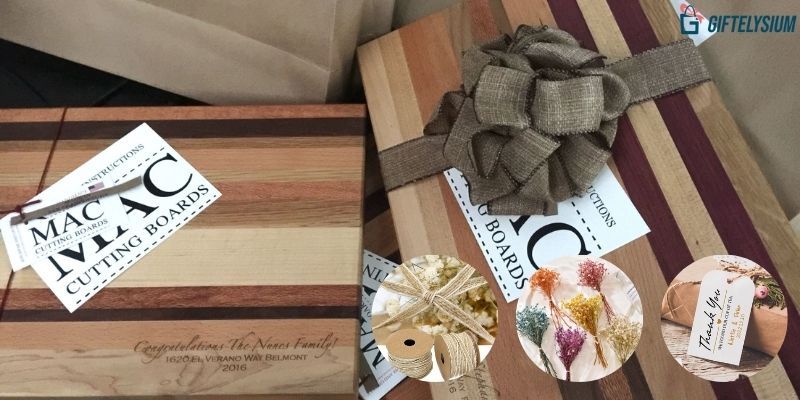
How to gift wrap a cutting board well with decorative touches
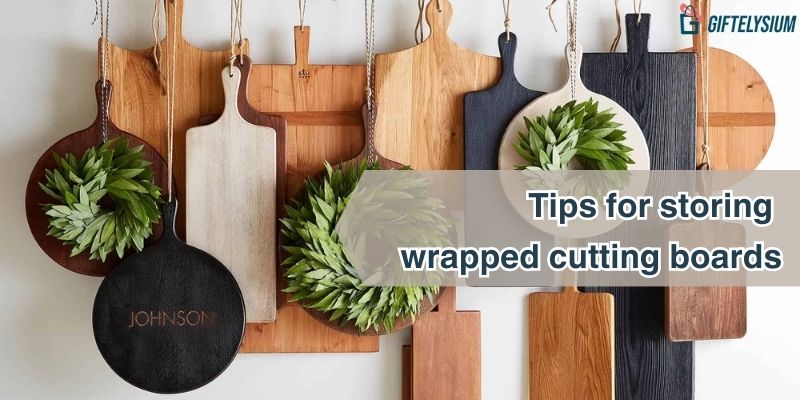
Tips for storing wrapped cutting boards
Storing wrapped cutting boards properly is crucial to maintain their pristine condition until it's time to present them as gifts. Firstly, find a cool, dry spot in your home for storage, avoiding areas prone to humidity or temperature fluctuations. These conditions can compromise the integrity of the wrapping paper.
To shield the cutting boards from moisture, consider placing them in sealed containers or plastic bags before storage. Next, lay the wrapped cutting boards flat during storage to prevent any bending or warping of the boards and to maintain the integrity of the wrapping paper. Avoid stacking heavy objects on top to prevent damage.
For better organization, store multiple wrapped cutting boards vertically in a storage bin or box. This arrangement not only saves space but also makes it easier to access each board without disturbing the others. Lastly, perform regular checks on the stored cutting boards to catch any signs of damage or deterioration early on.
Tips for storing wrapped cutting boards
In conclusion, mastering how to gift wrap a cutting board is simpler than it may seem. By following three easy steps - measuring and cutting the wrapping paper, adding the finishing touches with decorative ribbon or twine, and storing the wrapped cutting board properly - you can create beautifully presented gifts that are sure to delight any recipient.
For more inspiration and ideas on meaningful gifts for all occasions, we invite you to explore Giftelysium. With a wide range of thoughtful and unique gift options, you're sure to find the perfect present for every person and celebration. Visit Gift Elysium today and discover the joy of giving gifts that truly make a difference.

